Create and manage projects
Group related work and manage a project’s name, appearance, and settings.
A project groups a team's research, ideas, experiments, surveys, and definitions. Use separate projects when the work needs distinct settings or a separate working context.
Create or select a project
Owners and admins can create and manage projects, subject to the team's plan allowance. A new team receives a Default Project during creation, so check for that project before adding another.
Use the project area in the sidebar to select an existing project or open the create-project action. Give a new project a recognizable name. After creation, select it before adding definitions and work items.
Change project settings
- Select the project in the sidebar.
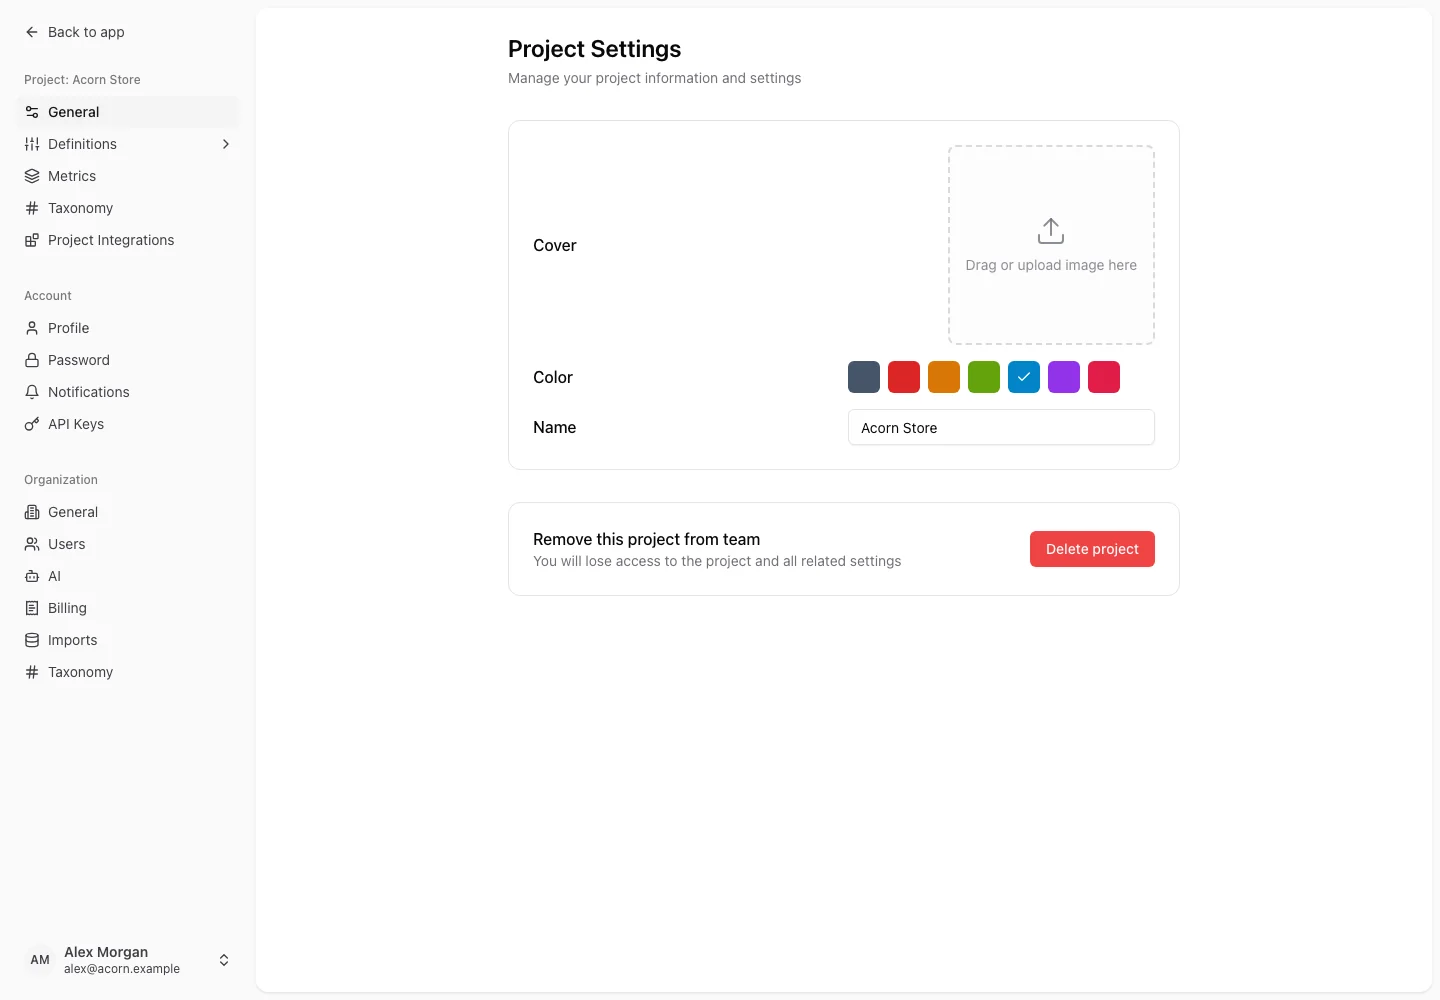
- Open Settings → Project → General.
- Update the name, color, and cover image and wait for the save to complete. For an existing project's cover, use an image no larger than 1 MB.
- Configure definitions, metrics, taxonomy, and integrations for that project as needed.
Project settings follow the selected project. Check the project name in the settings navigation before changing shared definitions.
Delete a project
The delete action in Project Settings removes the project and its associated data. The confirmation identifies it as permanent. Move or preserve any work you still need before confirming, and verify the project name carefully.
If project creation is unavailable, check your owner/admin role and the current plan allowance in Billing. A billing account in read-only mode allows browsing but blocks changes.